
Complete Guide to Using a Handheld Earth Auger: From Startup to Drilling
As a core device in agricultural planting, landscaping, and power construction, the handheld earth auger has become the preferred tool for quickly digging holes due to its portability, efficiency, and labor-saving advantages. However, improper operation often reduces efficiency and may even cause equipment failures or safety accidents.
This article breaks down the complete usage process of a handheld earth auger into four main stages: Pre-Operation Preparation – Engine Startup – Drilling Process – Final Maintenance, helping beginners get started quickly and experienced users standardize their operation.
I. Pre-Operation Preparation: Safety and Equipment Inspection Are Essential
Before starting the auger, safety protection and equipment inspection are both necessary to avoid accidents.
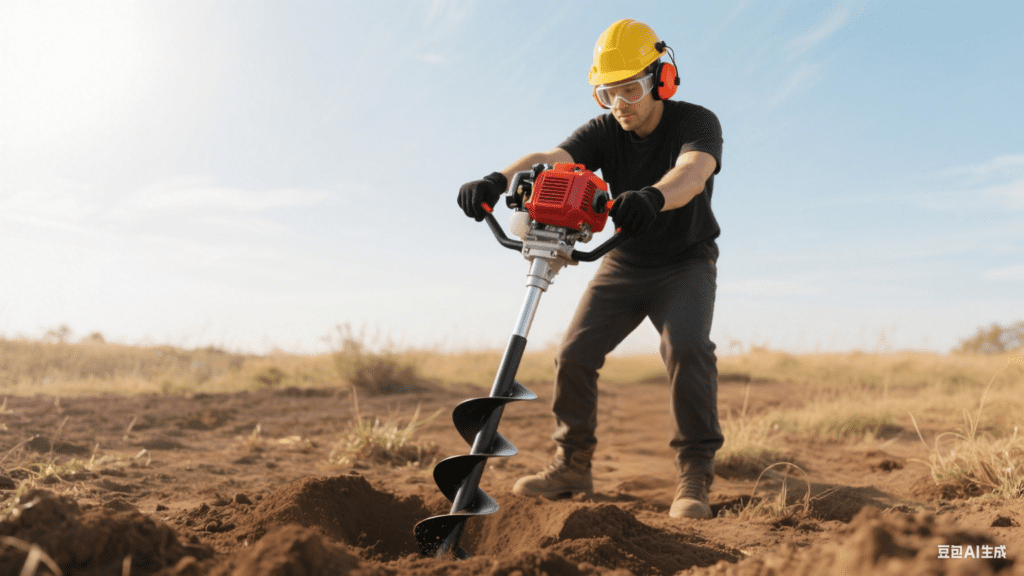
1. Wearing Safety Gear
Operating a handheld auger involves three main risks:
- High-speed rotating drill bit may fling stones and debris
- Engine noise exceeding 85 decibels can harm hearing
- Machine vibration may cause hand fatigue
Therefore, always wear full protective gear:
- Head Protection: Wear an impact-resistant safety helmet to prevent falling branches or stones from hitting your head.
- Eye Protection: Use anti-splash safety goggles (preferably transparent PC material) to prevent soil and debris from entering your eyes.
- Hearing Protection: Wear earplugs or earmuffs. Limit continuous work to 1 hour, then rest for 5 minutes.
- Hand Protection: Use anti-slip, wear-resistant gloves (canvas or rubber preferred) to improve grip and reduce vibration impact on joints.
- Foot Protection: Wear steel-toe, anti-slip work boots to avoid injuries if the drill bit touches your feet or if you slip.
2. Equipment Inspection
Follow the logic of “outside-to-inside, static-to-dynamic” inspection:
- Appearance Check: Look for cracks in the casing, loose handles, or missing drill teeth. Tighten screws, replace worn drill bits (if blade thickness < 3 mm), and straighten deformed parts.
- Fuel & Oil Check: Use unleaded gasoline (92# or higher). Keep fuel level 1–2 cm below the cap. Ensure engine oil is between MIN and MAX marks (SAE 10W-30 recommended).
- Electrical & Transmission Check: Ensure spark plug wire is firmly connected. Pull the starter rope to check for resistance. Adjust belt tension (gap 1–2 cm).
- Site Clearance: Remove stones, roots, and cables. Mark a 5 m safety zone to prevent injuries from flying debris.
II. Startup Operation: Step-by-Step to Avoid Forced Starts
Handheld auger startup follows a three-step method: Pre-Startup Setup – Cold Start – Warm-Up, especially in cold weather (< 5°C).
1. Pre-Startup Setup
- Place the auger steadily on the ground with the drill bit facing away from your body.
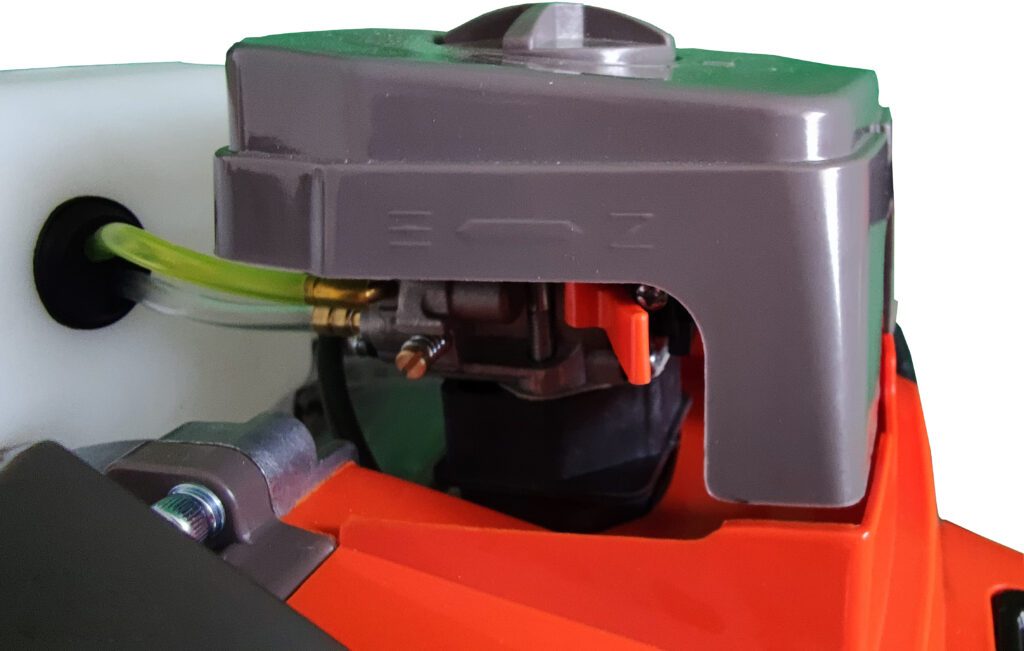
- Set the power switch to ON (press primer if equipped).
- For cold start: close the choke. For hot start: leave choke open.
- If equipped, press the fuel primer pump 3–5 times to fill the carburetor.
2. Cold Start Procedure
- Pull starter rope until resistance is felt, then pull sharply.
- If startup fails, check choke position.
- Once started, let engine idle for 1–2 minutes, then gradually open choke.
- Adjust idle speed if necessary (target ~1500 RPM).
3. Warm-Up
- Warm up 1–3 minutes before heavy work (3–5 min in winter).
- Slowly increase throttle to medium speed (~2500 RPM).
- Ensure drill bit does not rotate at idle/mid-speed. If it does, check the clutch.
III. Drilling Process: Efficient and Safe Operation
Drilling requires proper positioning, steady drilling, speed control, and safe lifting.
1. Positioning & Angle Adjustment
- Mark pit locations (e.g., 60 cm deep, 30 cm diameter for tree planting).
- Hold handles firmly, keeping the auger vertical (±5°).
- Adjust angle beforehand if angled drilling is required (e.g., fencing).
2. Drilling & Speed Control
- Increase throttle to 3500–4000 RPM.
- Gently press downward while drilling.
- Soil Adaptation:
- Loose soil: Drill faster, pause every 10–15 cm.
- Hard soil: Drill slower, pause every 5–8 cm, reverse briefly to release rocks.
- Wet soil: Frequently lift auger to remove mud buildup.
3. Depth & Verticality Control
- Use depth gauge or tape mark on auger shaft.
- Check verticality every 10 cm with level or by sight. Adjust gradually if tilted.
4. Lifting & Cleaning
- Once depth is reached, reduce throttle to idle and lift slowly.
- If soil remains, spin drill 1–2 turns at idle to clean out.
- Use special cleaning drill or shovel for debris.
IV. Final Maintenance: Extending Equipment Life
After work, follow “Shutdown – Cleaning – Inspection – Storage.”
1. Proper Shutdown
- Let engine idle 3–5 min to cool.
- Turn power switch OFF and close fuel valve.
- Place auger on flat, dry surface with drill pointing upward.
2. Cleaning
- Clean exterior with wet cloth or low-pressure washer (<0.3 MPa).
- Brush soil from drill teeth.
- Clean air filter with compressed air (replace every 50 hrs).
- Remove spark plug, sand carbon buildup, check electrode gap (0.7–0.8 mm).
3. Fault Check
- Inspect belts, screws, and fuel system for leaks.
- Replace oil if blackened.
- Check starter rope for wear.
4. Long-Term Storage
- Drain fuel, run engine until stall.
- Apply anti-rust oil to drill and shaft.
- Store in dry, ventilated area.
V. Common Problems & Emergency Solutions
1. Difficult Startup
- Wrong choke position → Adjust accordingly.
- Carbon buildup or wrong spark gap → Clean and adjust to 0.7–0.8 mm.
- Bad fuel or excess oil → Replace fuel, adjust oil level.
2. Drill Bit Stuck
- Turn OFF power immediately.
- In soft soil: reverse drill manually.
- In rocky soil: dig out stone with shovel.
3. Excessive Vibration
- Uneven drill teeth → Replace.
- Loose or broken belt → Adjust/replace.
- Loose engine bolts → Tighten securely.
4. Engine Suddenly Stalls
- Place auger on ground, check for leaks/smoke.
- If safe, check:
- Fuel empty → refill
- Spark plug wire loose → reconnect
- Oil insufficient → refill
- If still fails, seek professional repair.