
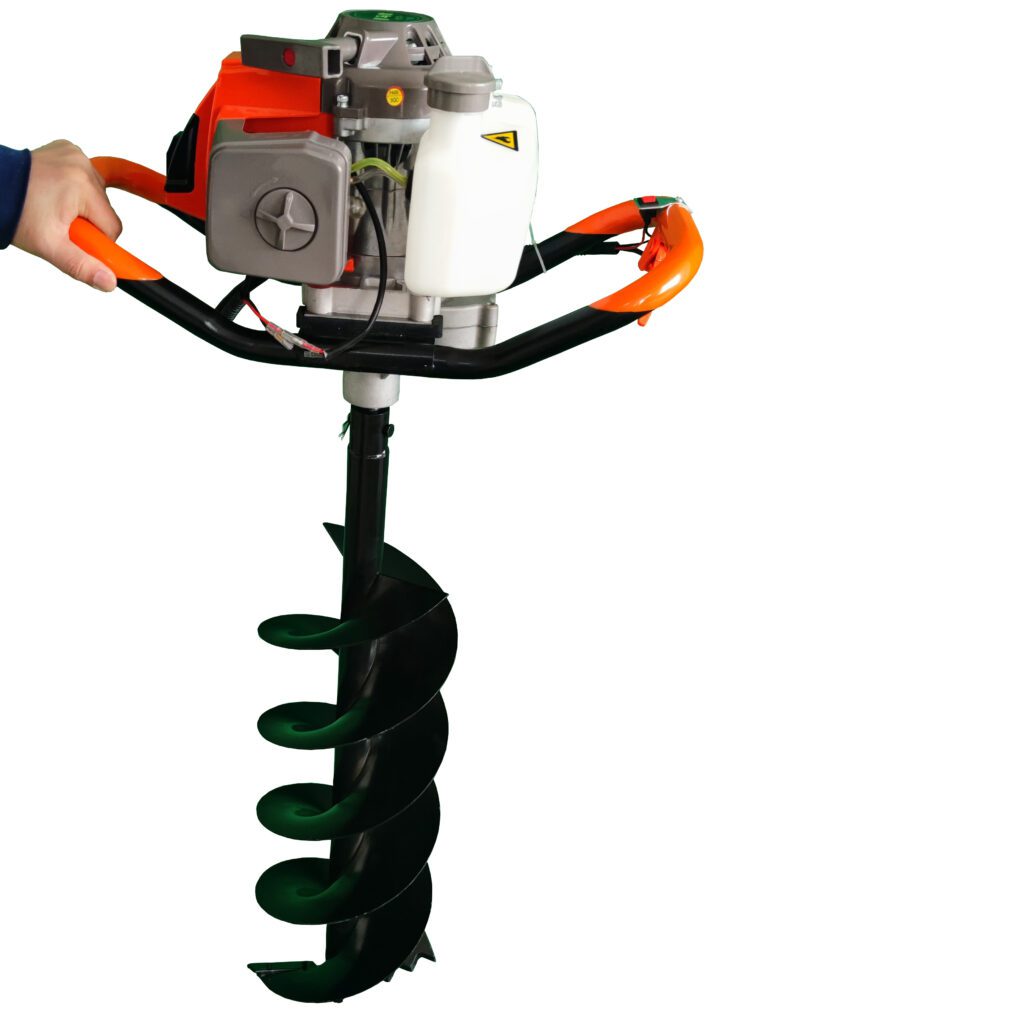
Handheld Earth Auger Step-by-Step Guide
1. Handheld Earth Auger Pre-Start Inspection
Check the fuel level in the handheld earth auger’s tank. Start the engine only after confirming sufficient fuel supply.
2. Handheld Earth Auger Drilling Process
Step-by-Step Operation:
- Align the drill bit with the marked center point. Press the trigger to activate the engine, driving the bit into the ground.
Working Mechanism (Technical Insight):
- The bit’s tip cuts through the central soil
- Blades at the spiral’s lower end break up soil layers
- Excavated soil is flung against hole walls by centrifugal force
- Soil moves upward along spiral blades and disperses around the hole
3. Handheld Earth Auger Completion & Shutdown
Critical Actions:
- Once desired depth is reached: slowly lift vertically
- Release trigger only after the bit fully exits the ground
FAQ Section
Q1: Why lift the handheld earth auger vertically?
Prevents soil collapse and bit damage – as mandated in the shutdown protocol.
Q2: How does centrifugal force affect drilling?
Flings soil against hole walls for efficient removal, per the described mechanism.
Q3: Minimum fuel level for safe startup?
Always confirm visible fuel in the tank before ignition (per Pre-Start Step 1).