
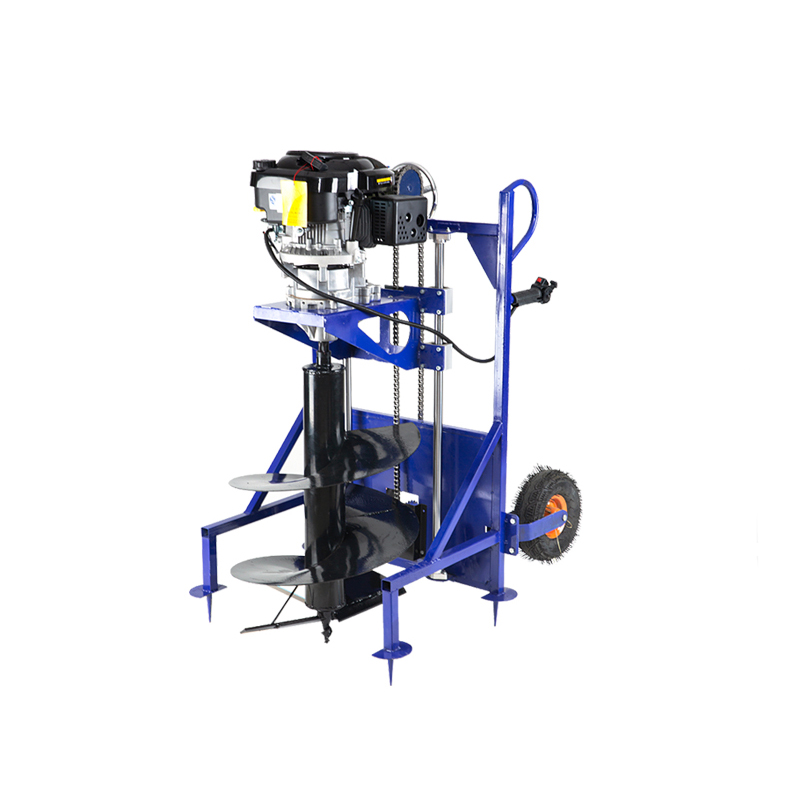
Wheeled Earth Auger Operation Procedure – How to Use a Hand-Pushed Post Hole Digger Safely
Follow this step-by-step operation guide for wheeled earth augers to ensure safe and efficient drilling performance. This applies to heavy-duty hand-pushed augers used for agricultural, fencing, or landscaping purposes.
1. Pre-Start Inspection for Wheeled Earth Auger
Before starting the hand-pushed auger, perform the following check:
- Check the fuel level in the tank.
- Start the auger engine only after confirming sufficient fuel.
Proper fuel inspection helps avoid mid-operation stalls and engine flooding issues.
2. Drilling Process with Wheeled Earth Auger
- Align the auger bit with the marked center.
- Press the trigger to rotate the bit into the ground using the hand-pushed auger system.
Mechanism of Action:
- The bit tip cuts central soil
- The spiral base blades shred deeper soil layers
- Centrifugal force flings soil outward against hole walls
- Friction lifts the soil upward along the spiral blades
- The excavated soil is then dispersed neatly around the hole
This process highlights the effective soil displacement system of a wheeled earth auger.
3. Shutdown Protocol for Hand-Pushed Auger
- Slowly lift vertically once the target drilling depth is reached
- Release the trigger only after the bit has fully exited the ground
Following the correct shutdown sequence prevents abrupt pressure on the auger system.
Safety Alert
“Slow vertical lifting” is critical – it prevents chain breakage and gear reducer damage, two of the most common failures in hand-pushed augers.